Many months ago, my niece, Sarah visited us. During her stay, we ended up in my sewing room, and while there, I offered to make a quilt for her. Sarah responded with an, “Mmmmm, hmmmm,” as she ran her fingers across the fabrics I have stacked on shelves. Then she quietly said, “I was thinking that maybe you could do placemats?”
Yes, of course! So I probed a bit on what she was thinking - did she want specific colors - bright, muted, mixed, solids, prints? Did she want traditional quilt blocks? Modern shapes? Wonky?
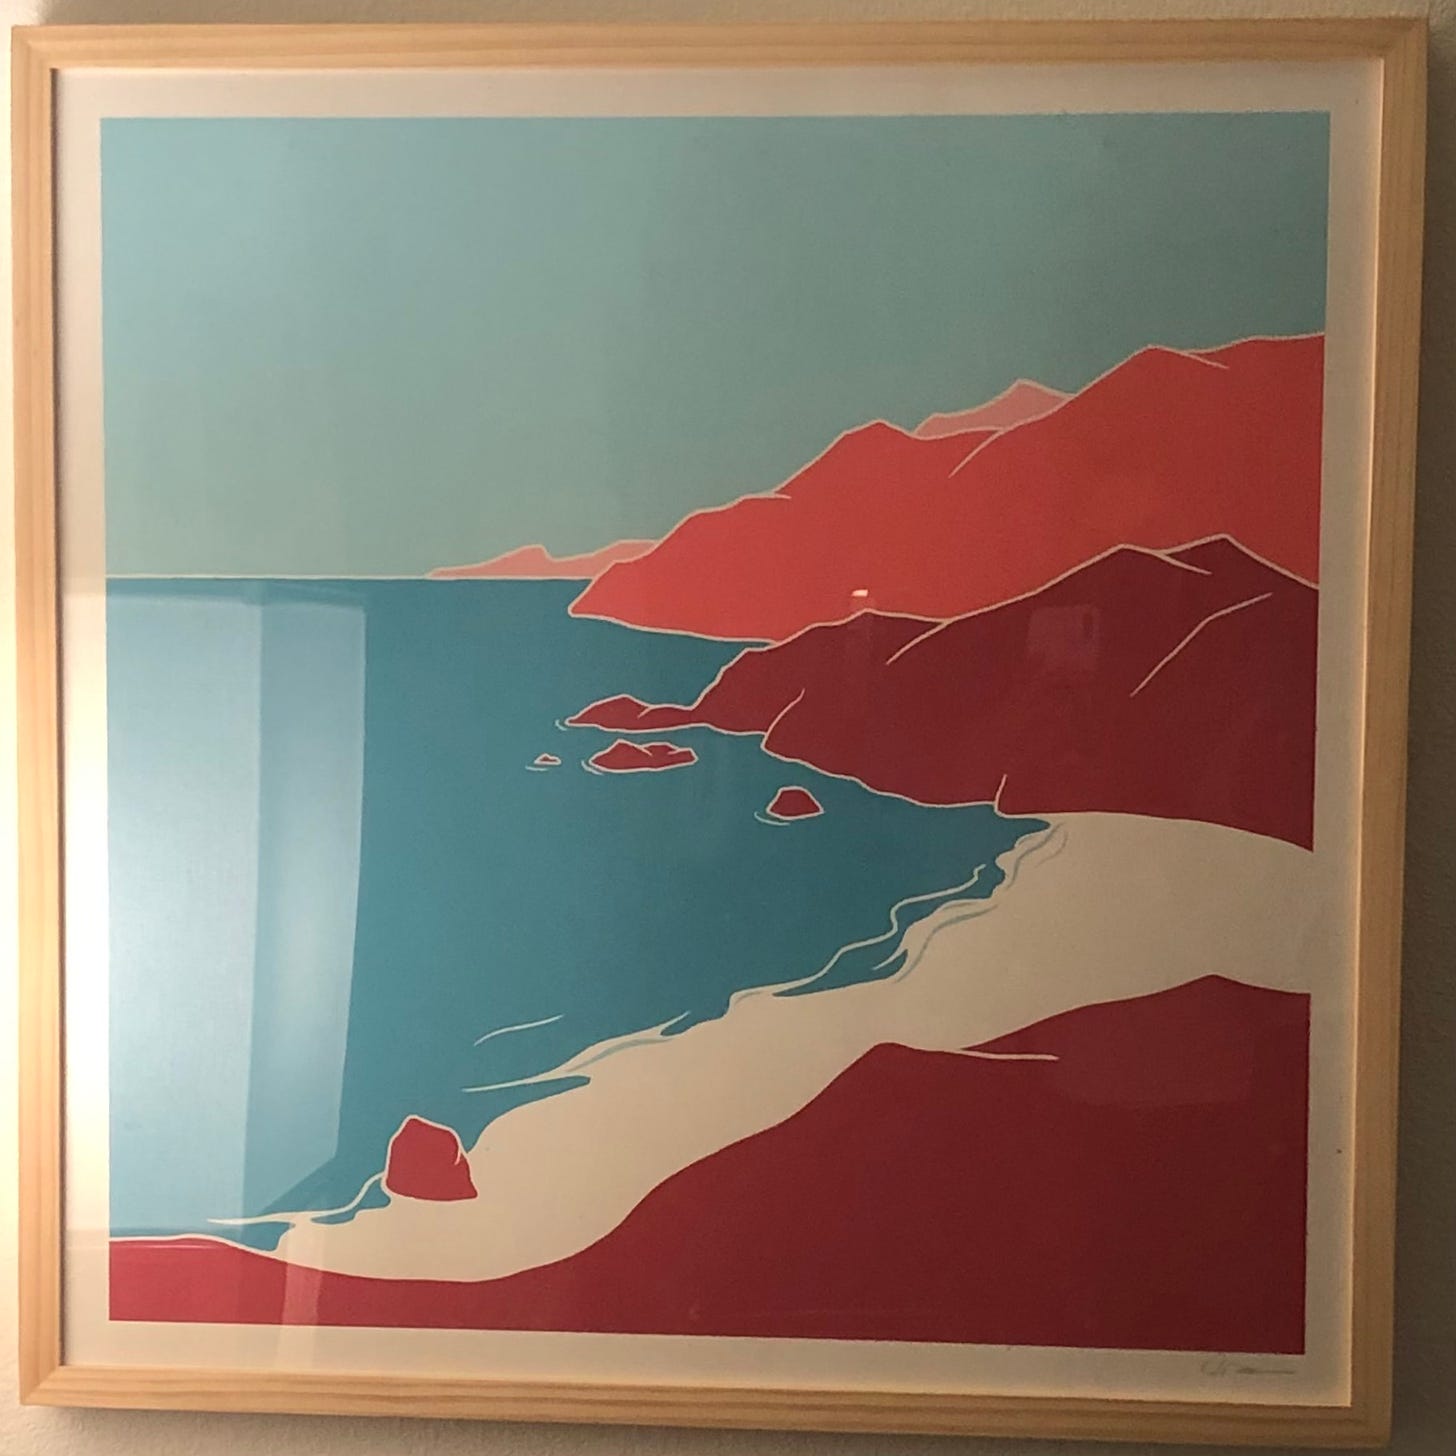
It was landscapes she wanted, and while she was saying this, she pulled up pictures of her apartment on which color block landscape prints were hanging on the wall. She said, “I was thinking something like this…”
I knew right away that this was very do-able. If you break down the print, there are just six colors (translate - 6 different fabrics), and the shapes of each color (a.k.a. part of the landscape) are not overly complicated to cut or sew.
Sarah’s initial directions were fluid and open-ended - landscapes with a variety of fabrics she’d pulled from my stash. We both were excited at the possibilities. Sarah returned home, and then panic set in!!!
OMGosh! Landscapes! What kind of landscapes? One with water? And if water - what kind of water? Ocean? River? Lake? Or how about a mountain landscape? Oh geez! Should it have snow? No snow? A combo of both? And should that mountain have a stream running down it? Would she want a field landscape? Should it be filled with grasses? Or flowers? Or pathways?
And the real question ended up being - How in the world am I going to do EIGHT individual landscape placemats if I’m struggling with the first placemat?! I found myself mentally paralyzed. Several months passed, and Sarah returned for another visit. While sitting around the dining room table, I explained my conundrum to Sarah. I asked questions about content, colors and designs. As we talked, she scrolled through photos on her phone. There it was!!! A vintage black and white photo of the shoreline of Lake Michigan hanging on the wall of her apartment.
And in that moment, I knew what to do! That photo was the answer to what would make the project meaningful to Sarah and at the same time, provide me with a framework to create the placemats. I suggested we use landscapes that were from places she’d lived or visited. And as quickly as the words were coming out of my mouth, Sarah was showing me photo after photo of landscapes that could easily serve as the inspiration and direction for her project.
At the end of our brainstorming session, Sarah was charged, while on her flight back home, to come up with eight photos that she’d like made into placemats. When she landed, my phone buzzed, and I had a text from Sarah with the following photos (and descriptions).
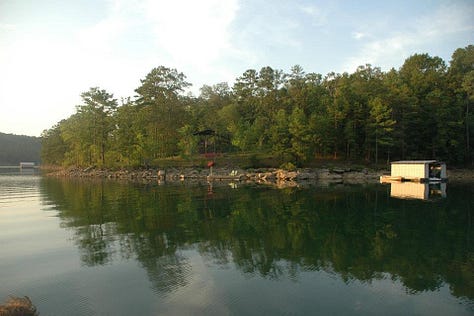
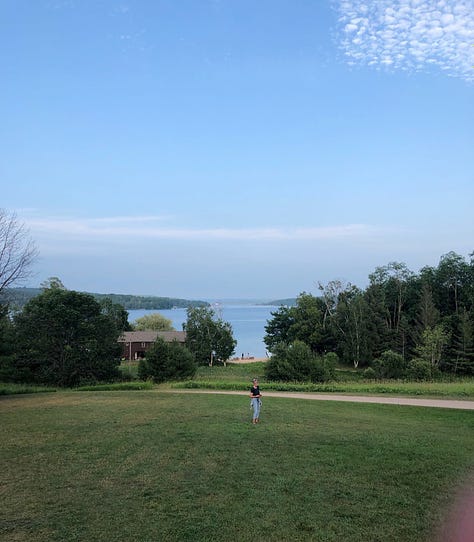
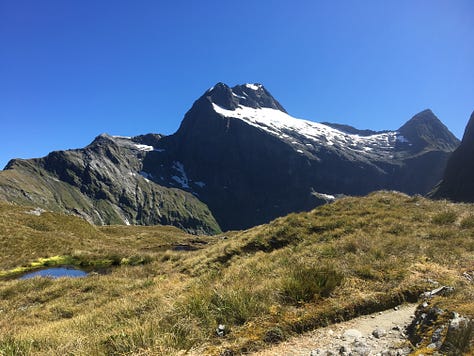

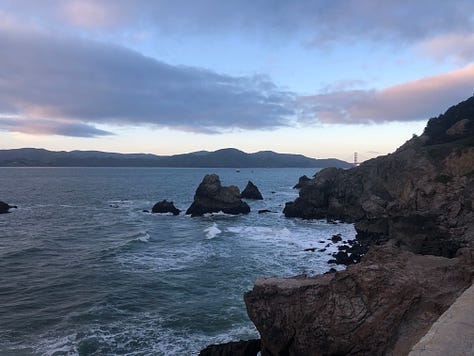
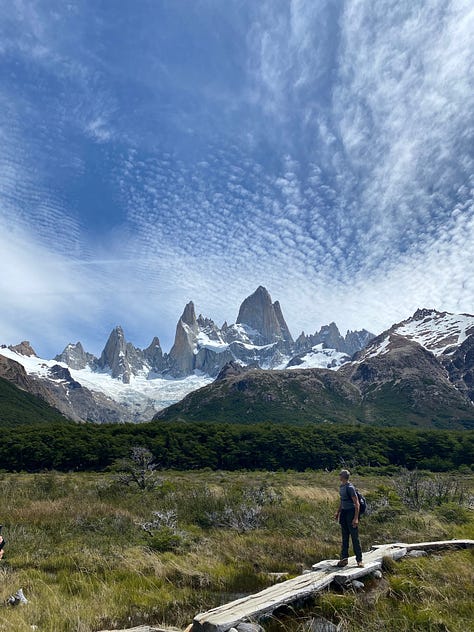
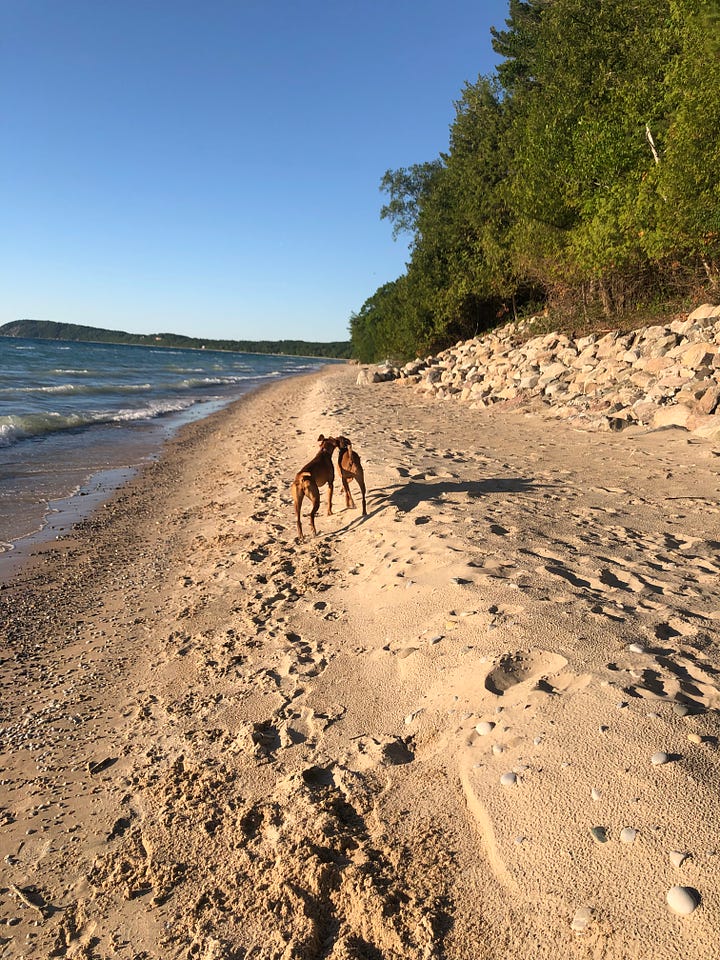
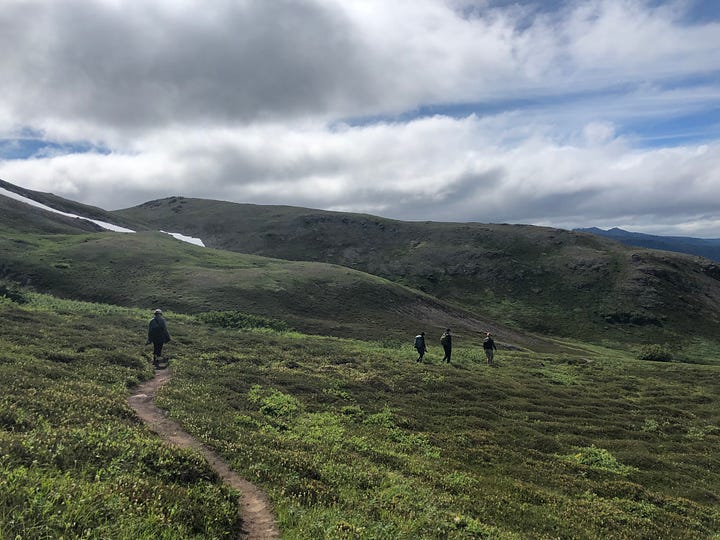
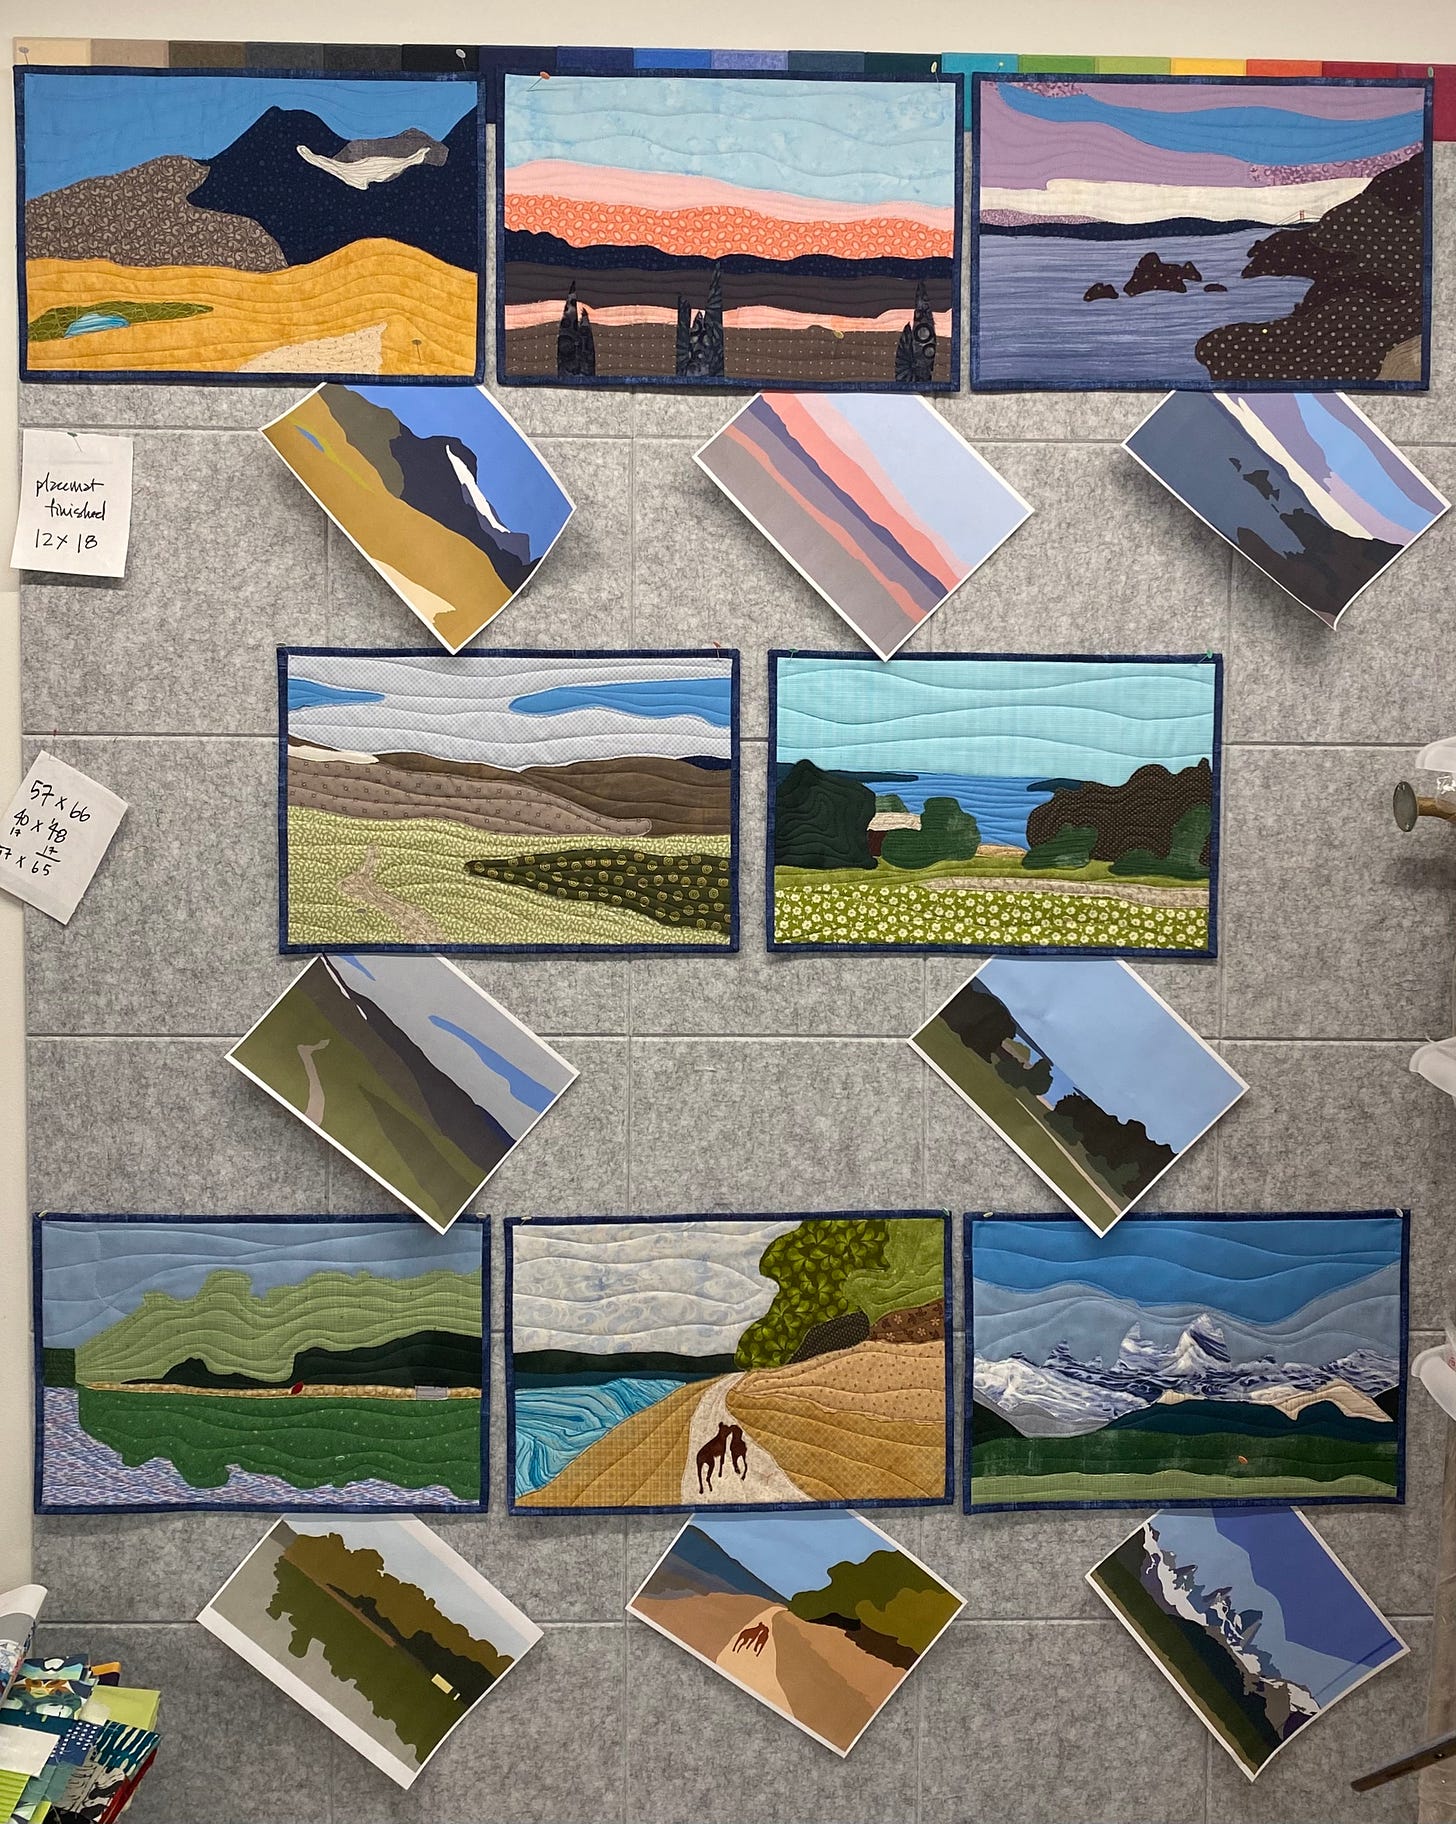
There they were - Sarah’s placemats. I saw the colors and shapes, and knew these photos would fit the bill. I was ready to get to work.
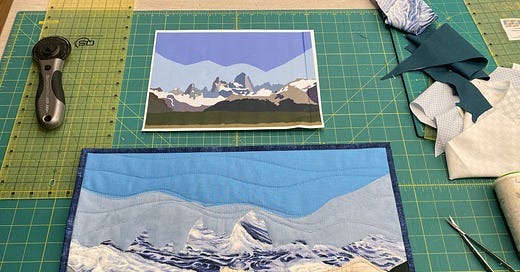
To take these photos and make them into illustrations was my first challenge. I found and downloaded a program on my iPad called Procreate, and with help of Youtube tutorials, I figured out how to turn photos into color-block illustrations. Here’s an example of how a photo became an illustration.
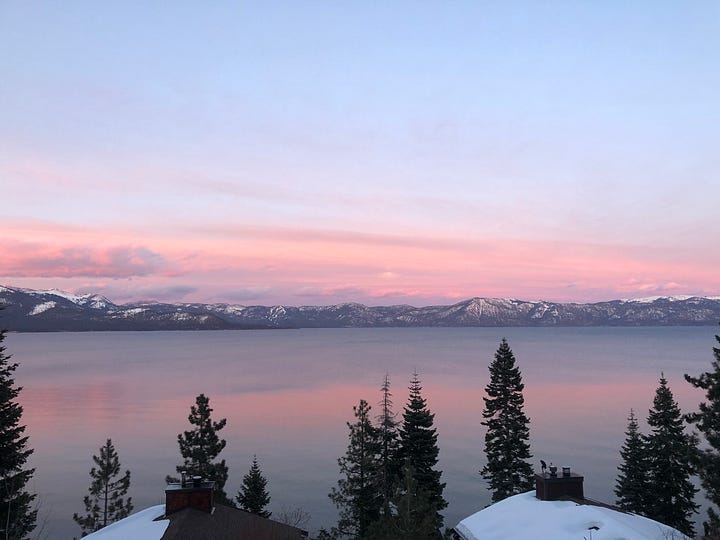

Once the illustration of each photo was completed, and the fabric was chosen, I was ready to enlarge the illustration using a small projector. The illustration’s image was cast onto a piece of freezer paper measuring 13”x19” - rough placemat size.
As a note: Freezer paper is a good medium for creating applique templates, because one side of the paper is polycoated, and when placed coating side down onto fabric and warmed with an iron, it sticks to the fabric - basically creating a removable sticker in a desired shape. I traced the general shapes onto the freezer paper, cut the images out of the paper, ironed them to fabric, and cut the fabric shapes.
Then I started building a quilt sandwich. The bottom layer was the fabric that is on the back of the placemat, the next layer (the middle layer) was a piece of quilt batting. The top layer was the landscape made of the fabric pieces that I laid out and secured in place with small pieces of Stitch Witchery - basically gluing down each piece.
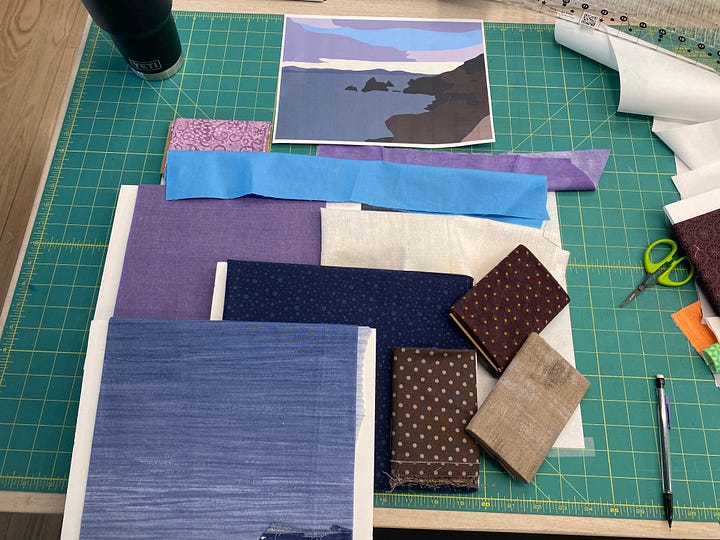
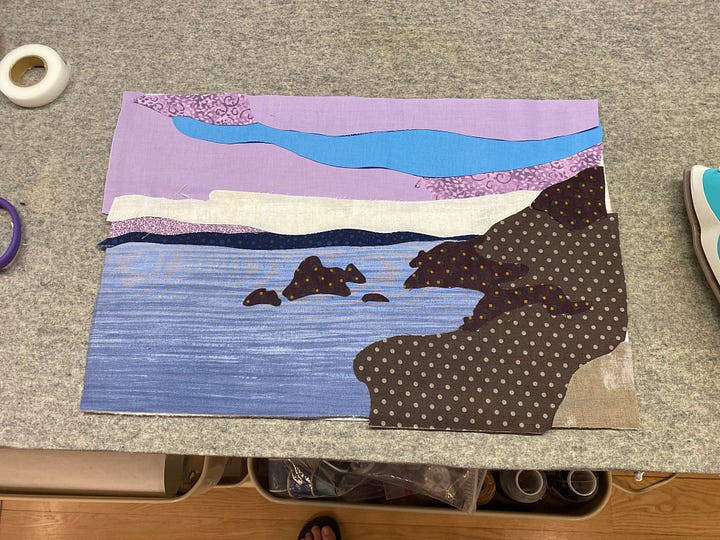
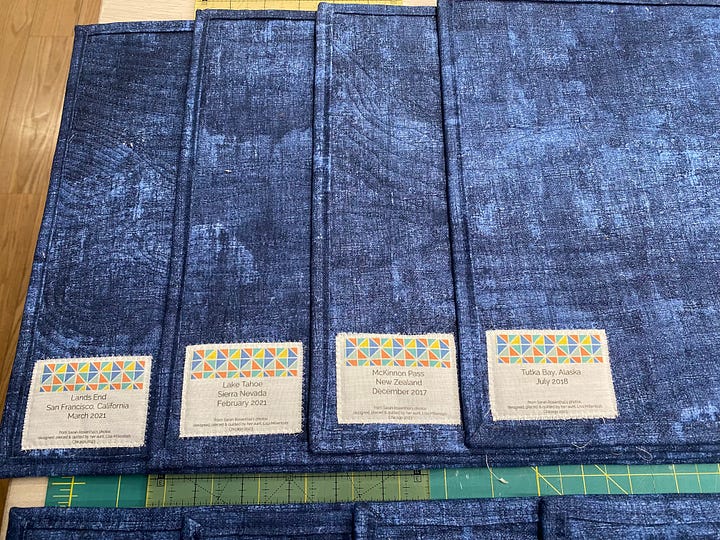
Once the top layer was done, I took the quilt sandwich to my sewing machine, and stitched over the entire piece with thread that coordinated with the various colors of fabric. This step not only creates more visual interest, but it also secures all the fabric pieces into place. Next, I squared up and trimmed the mat so it measured 12”x18.” And lastly I added a binding to the rough edges of the placemat and attached a label.
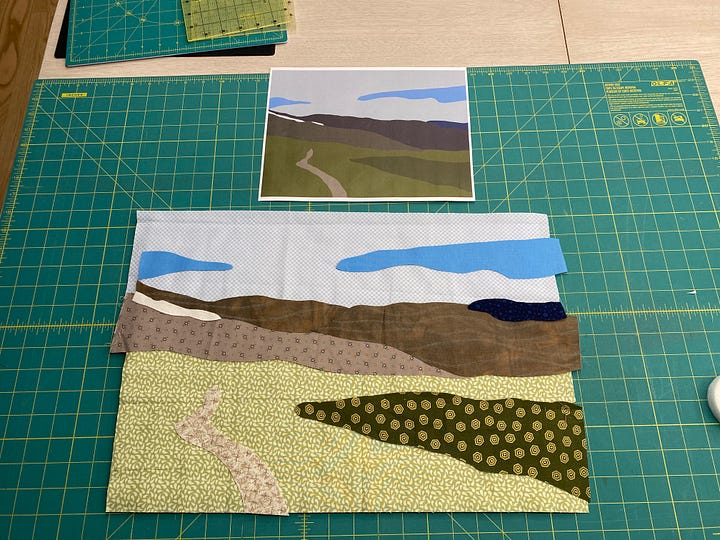
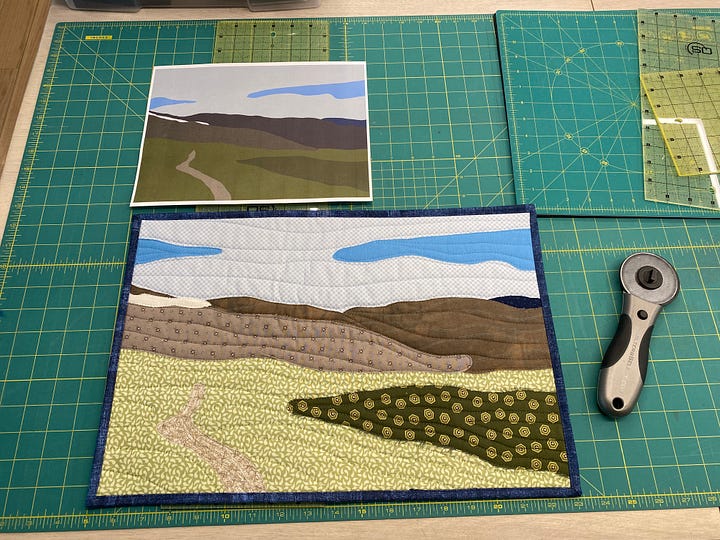
And while it may look like this was a solo effort, Sarah and I actually did a good amount of collaboration on this project via text. She approved illustrations making sure to indicate which details from the photos she hoped could be in the placemats. I sent her images of fabric options, she responded with preferences for colors and patterns of fabric. And she and I celebrated with exclamation marks and heart emojis as I texted her a photo of each placemat as they were completed. It was definitely a process we both enjoyed.
I completed the Sarah’s placemats right before a family get together, so I was able to deliver them to her in person. I love thinking that these will become part of dinner conversations as she describes these special places and the memories she has of them.




These are amazing Lisa!!!
These are AMAZING!!! Brava!!