After seeing the quilt I’d made for my dad, Ethan requested a quilt for himself; one that could be used when having a picnic, hanging outside by a fire or listening to an outdoor concert. I think this quilt meets that request.
Here’s how it came together. I was charged with finding cozy fabric in colors found in nature. Woolies (cotton color wash flannel by Bonnie Sullivan for Maywood Studio) would be perfect for this!
I found this great pattern - Over & Down Under - from Folk Art Designs - also by Bonnie Sullivan.
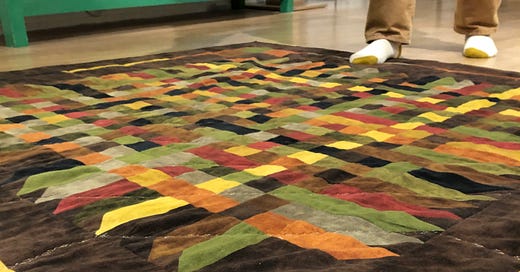
I love that this quilt looks like it’s woven, but it’s really just a thoughtful layout of strips that wrap around the outside edge of the design and alternating squares placed in rows and columns to give the illusion of weaving.
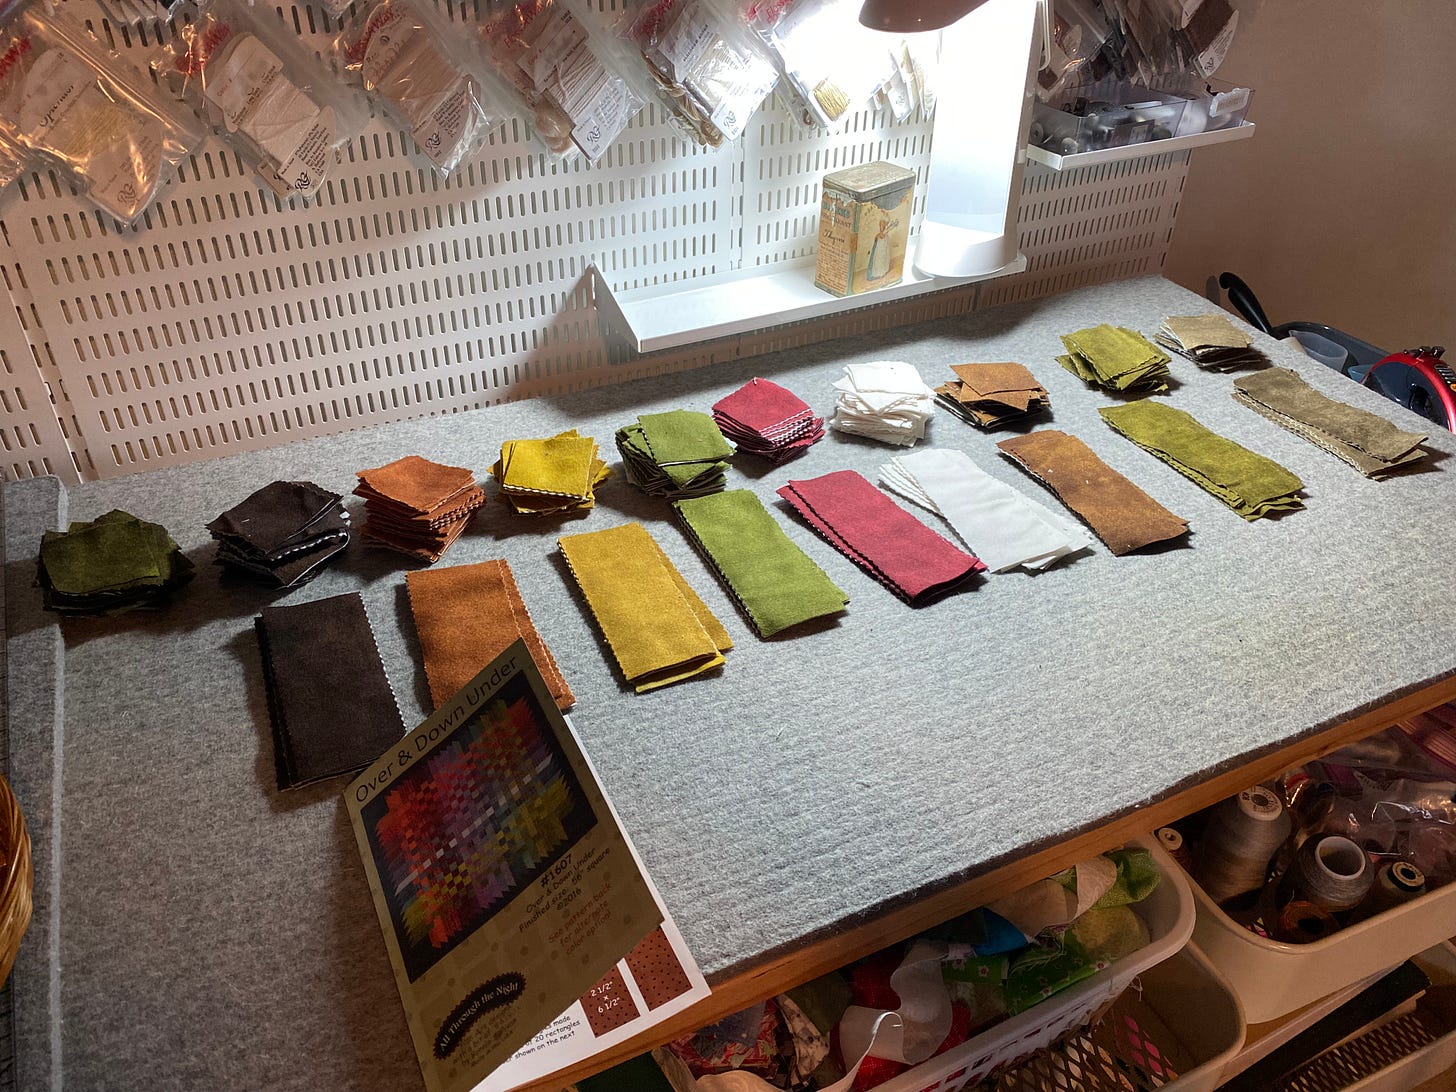
Here I have 2 1/2" in WOF (width of fabric) strips cut into squares and small strips and then organized by color.
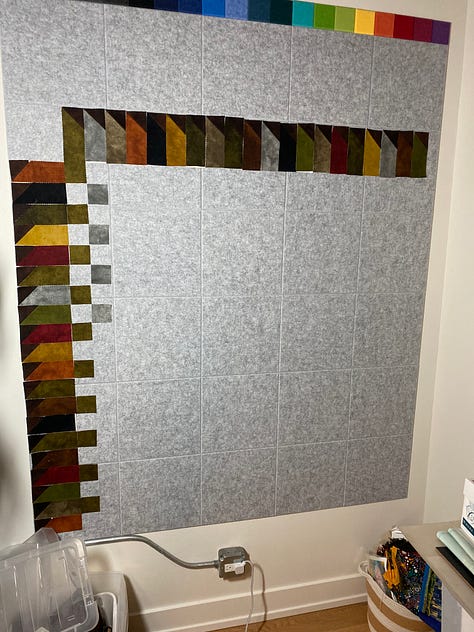


After the squares and strips were cut, I started “weaving” the pieces of fabric to get the desired effect and balance of color.
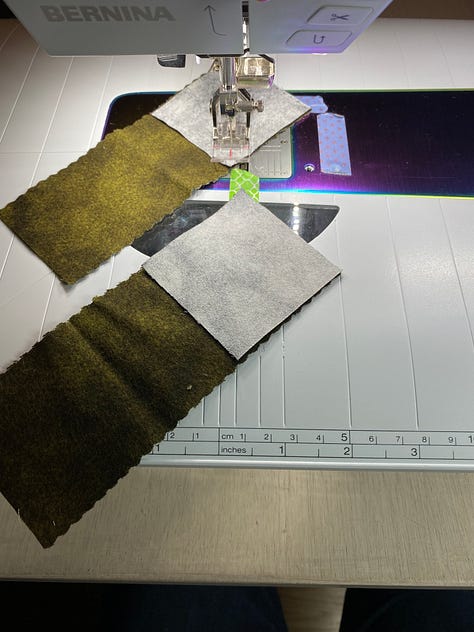


When I was satisfied with placement of fabric, I methodically sewed all the pieces together. And then I pressed flat a LOT of seams!!!
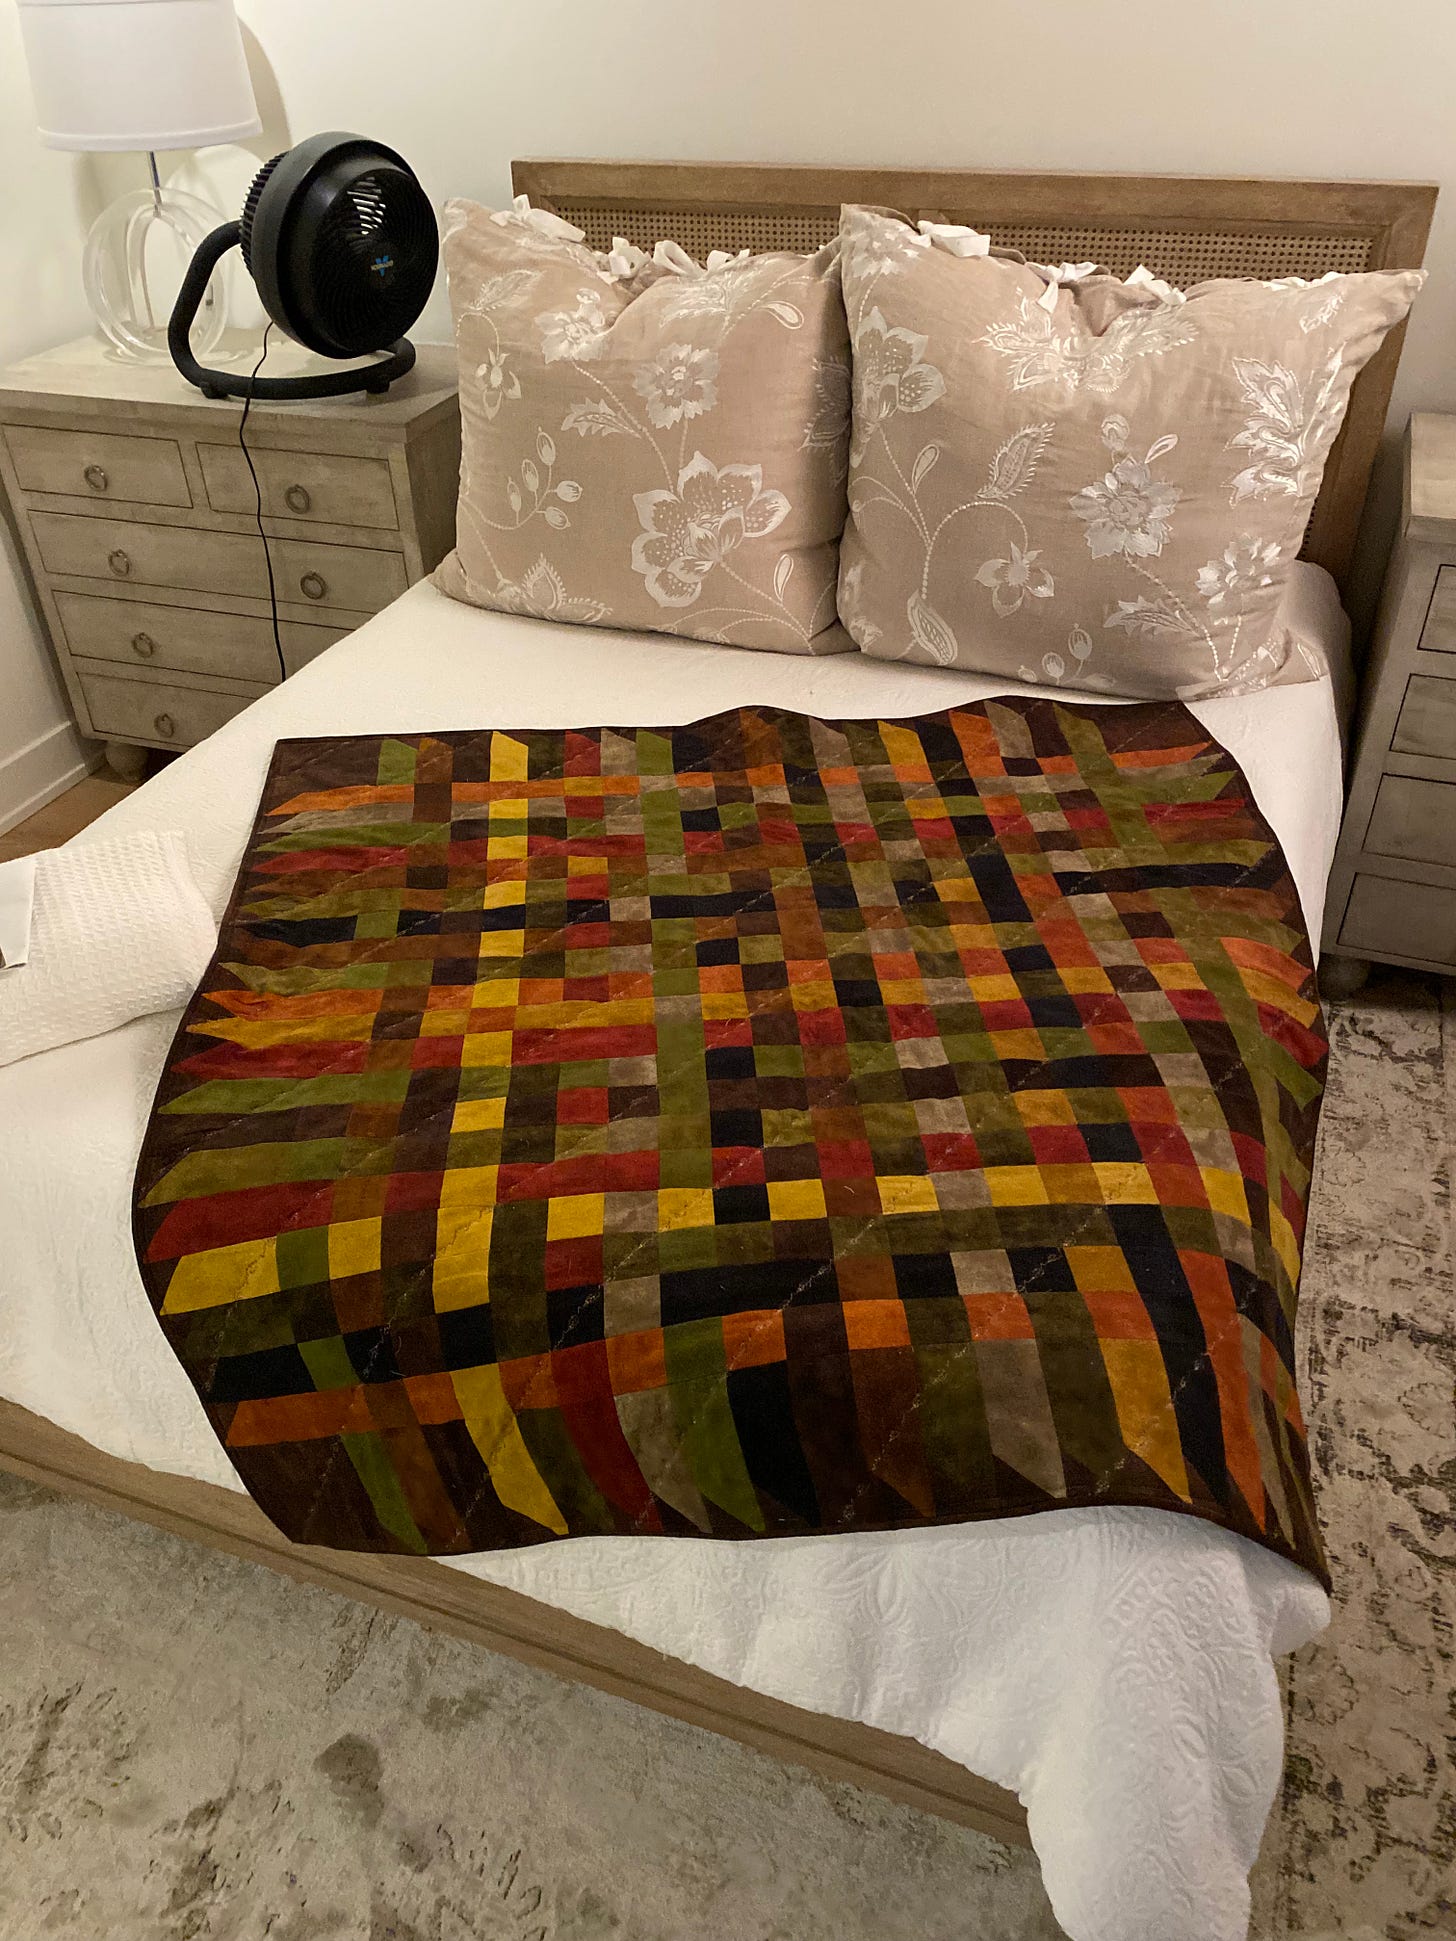
I finished the quilt - top, back, binding and put it on bed and came to conclusion that my 6’4” stepson might be able to sit on the quilt (it’s finished size was 56” square), but his head or legs or both would hang off the sides of the quilt. So - I took apart the quilt - removing just the binding, feeling sure I could extend all four sides so it was big enough for Ethan to enjoy!
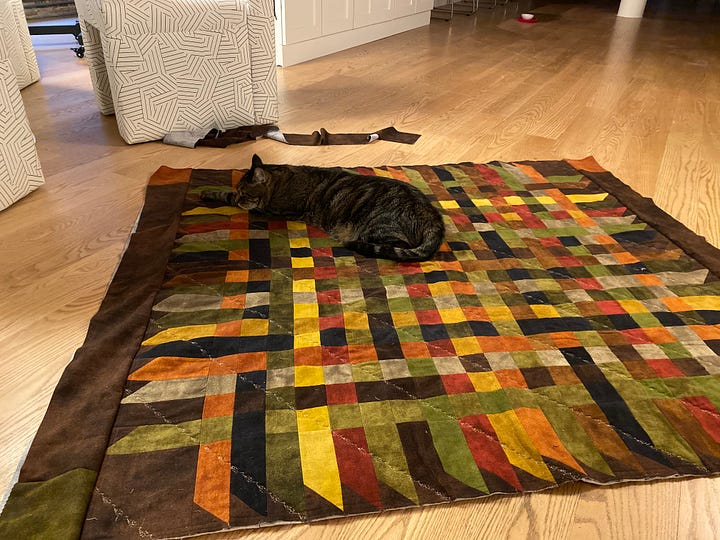
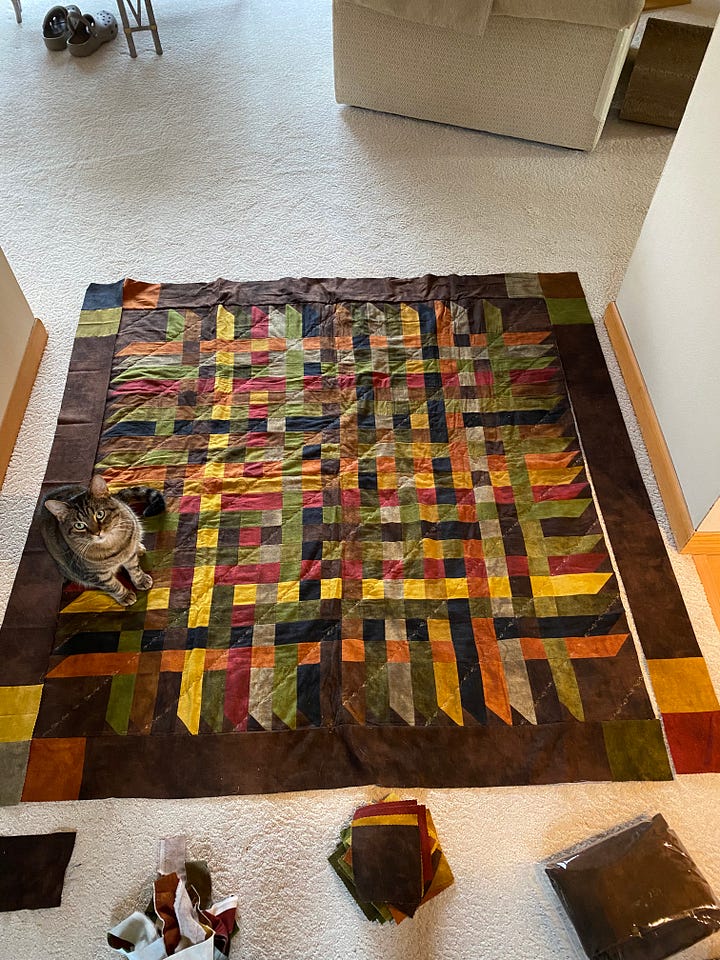
In the first picture above, I attached a border around all four sides in the dark brown background fabric with one colored square at each corner (I think strips were about 4” wide and squares were 4”). Wasn’t satisfied. So I ripped that off and tried again. This time (second picture), I liked the effect of the corners having a 4-square block of multiple colors in each corner.
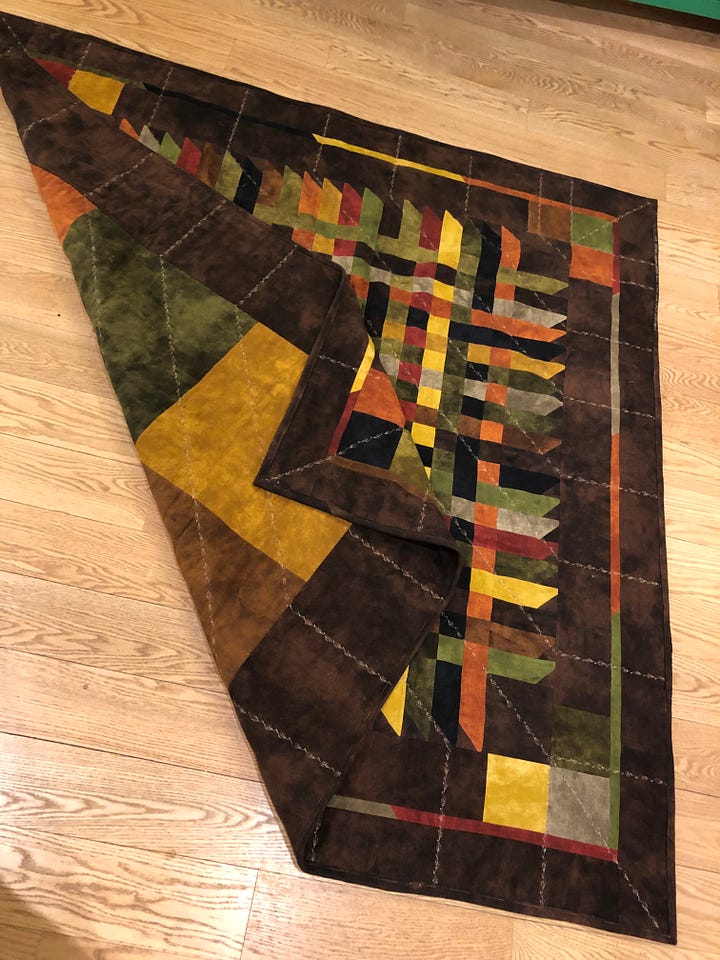
Once the border was attached, I still felt like the quilt was too small, so I added a thin multi-colored strip to the outside edge of the quilt, and then attached another wider dark brown border to that. Satisfied!!!
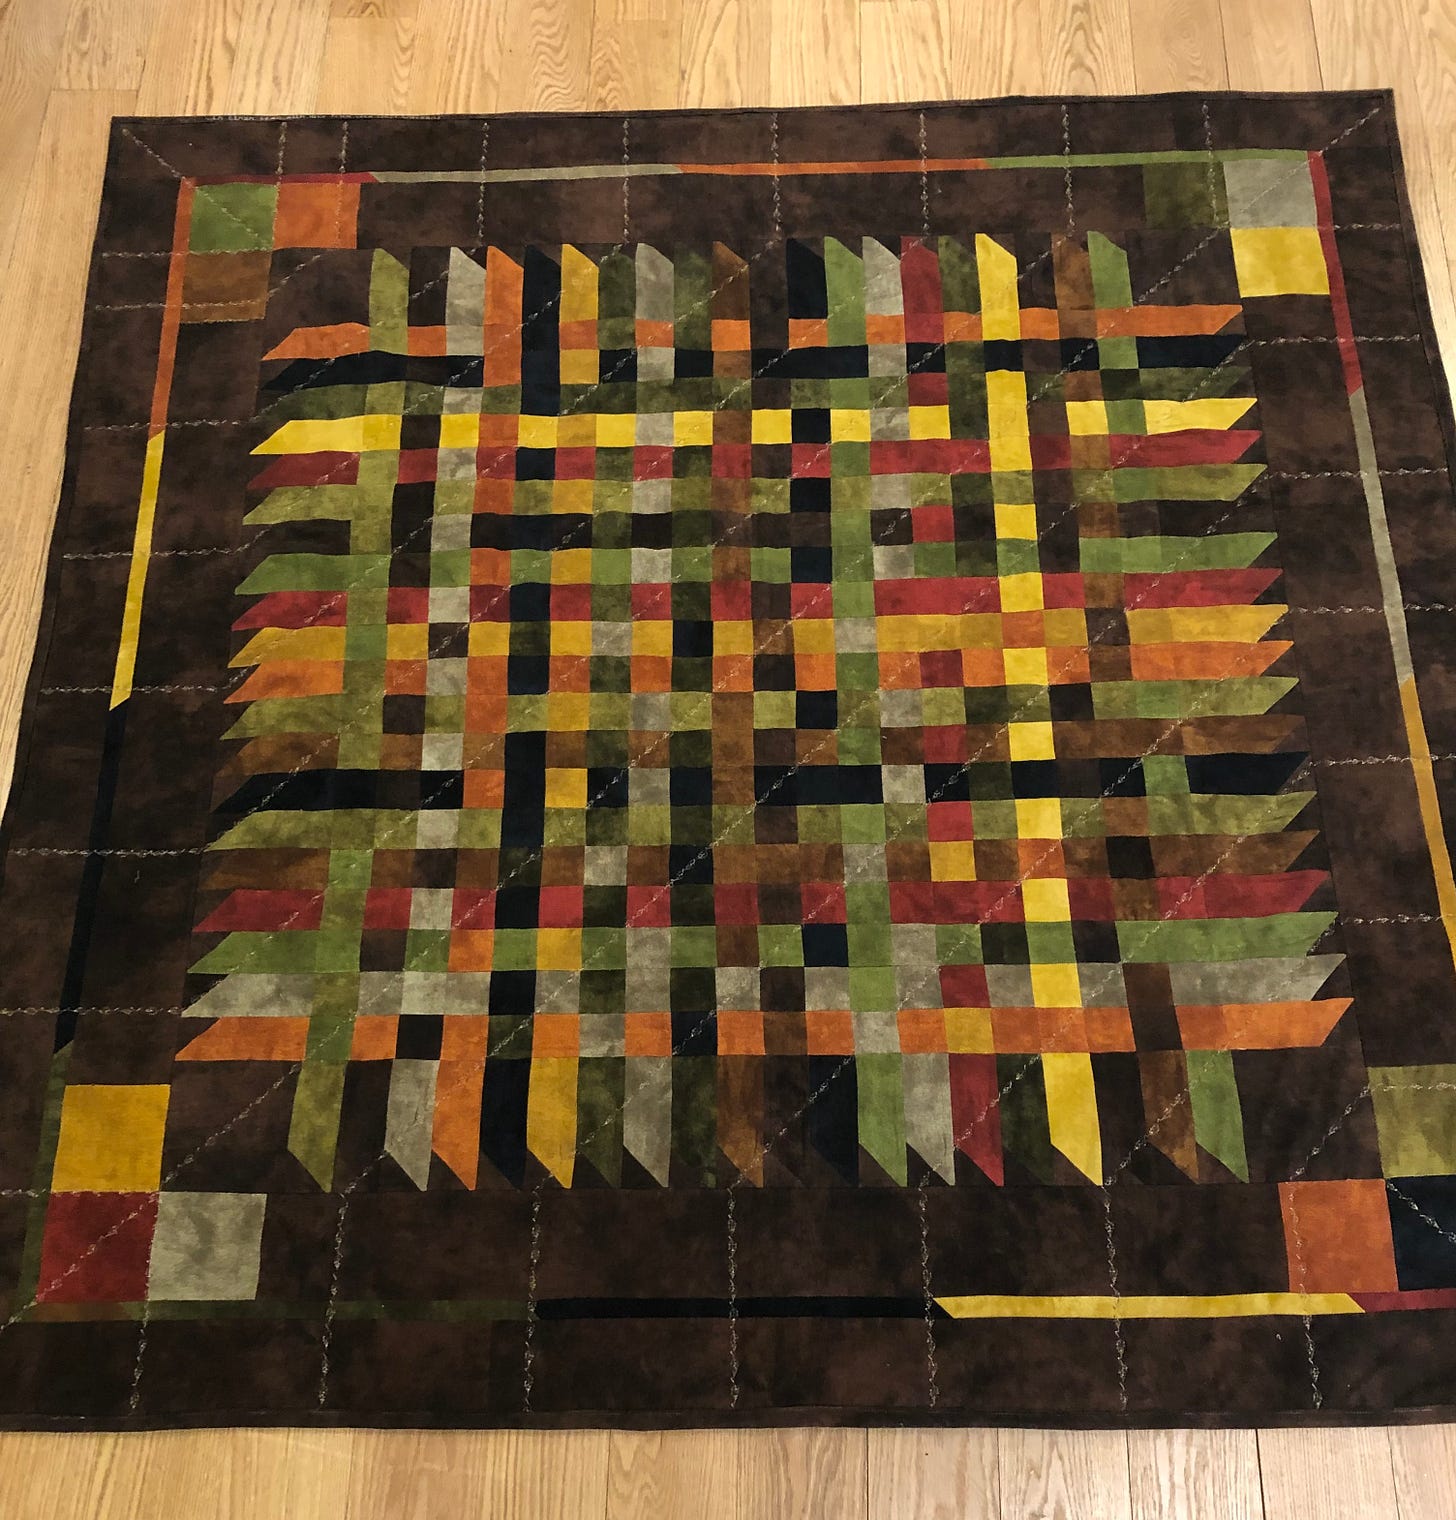
While the picture above is of the finished quilt, let’s pretend like it’s not done. I still needed to come up with a back for the quilt. I had a fair amount of yardage left, so I made a simple multi-colored big block backing.
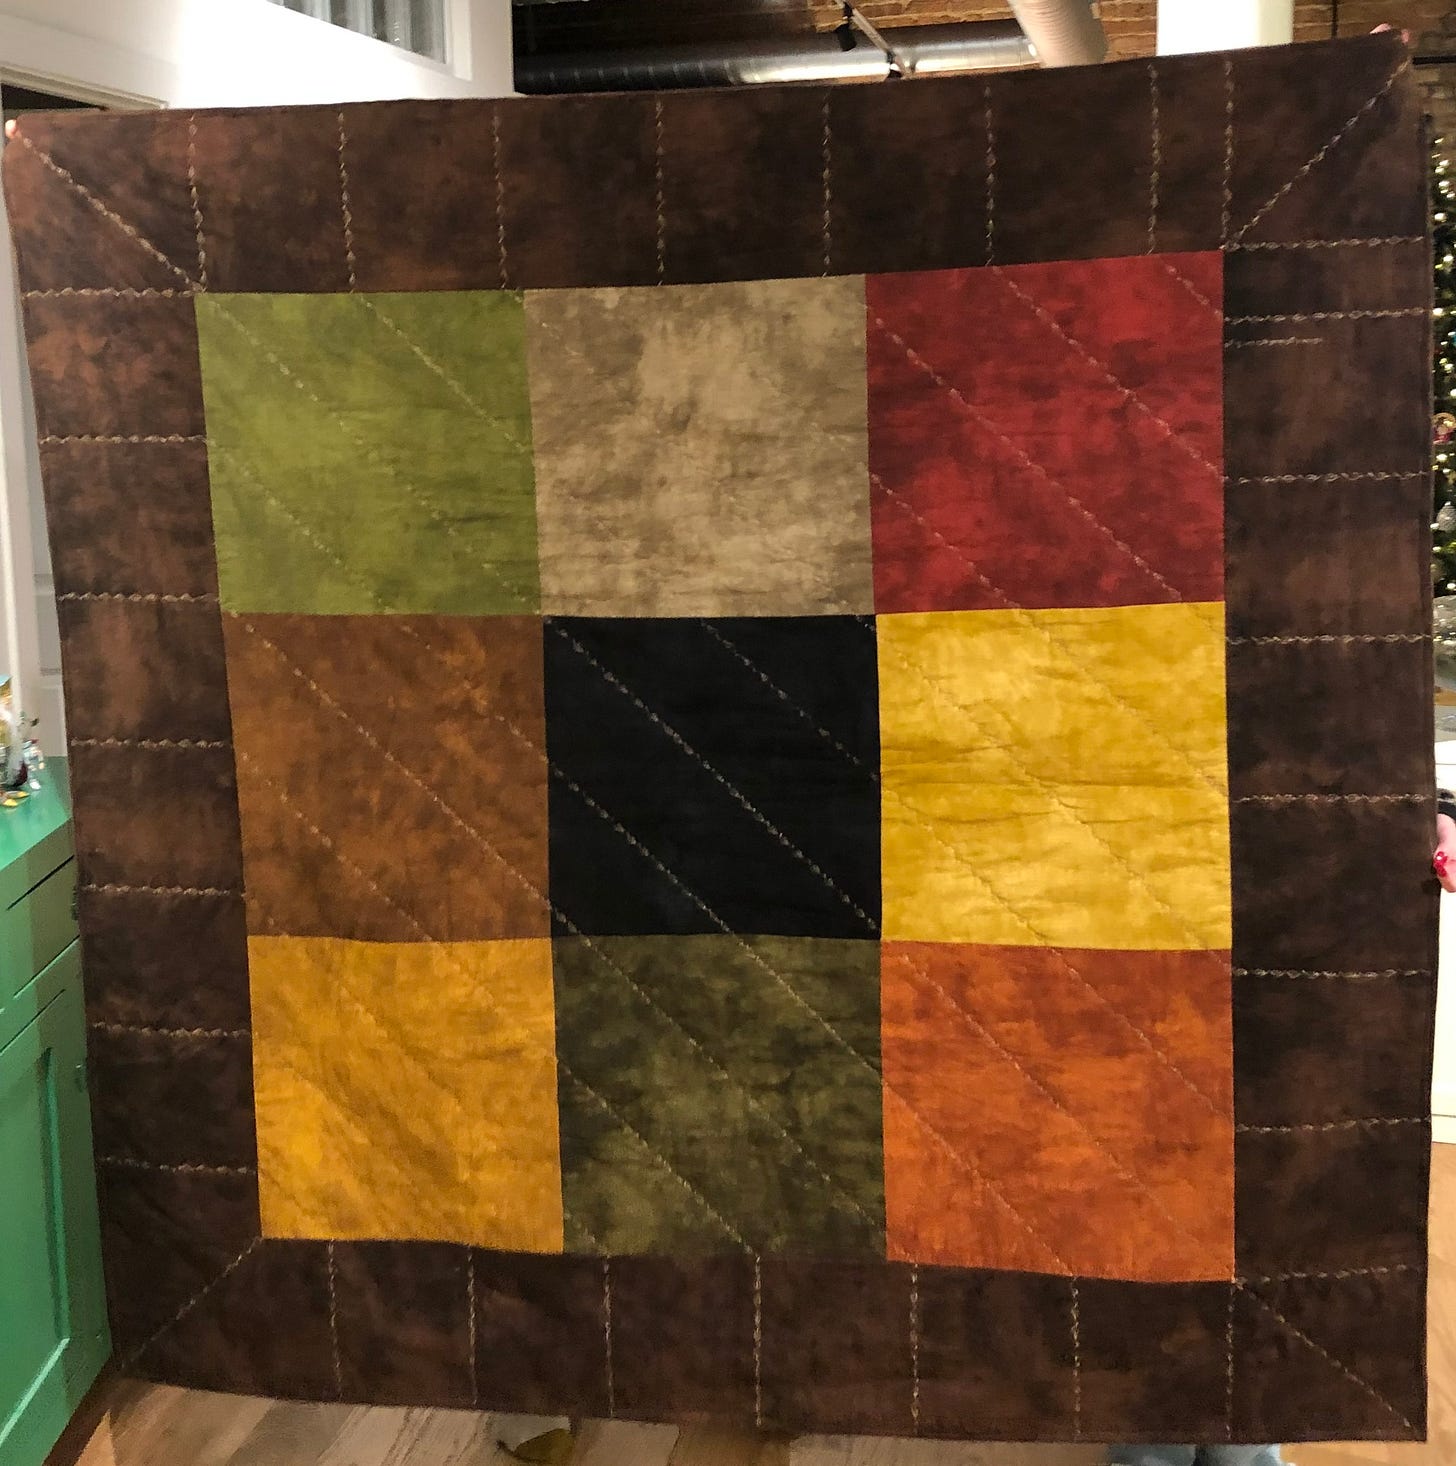
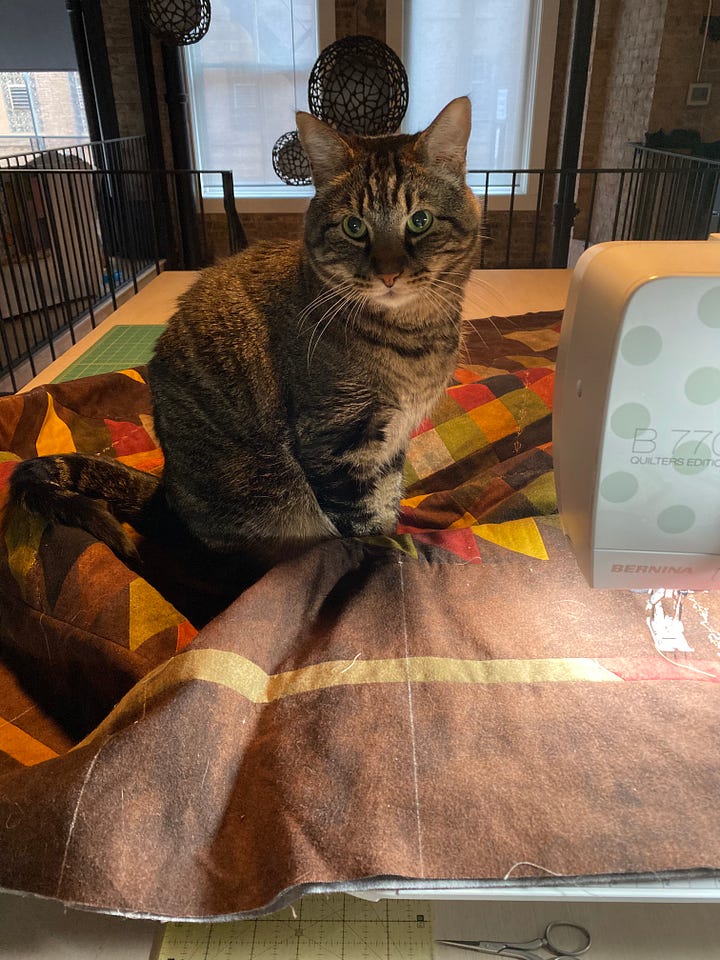
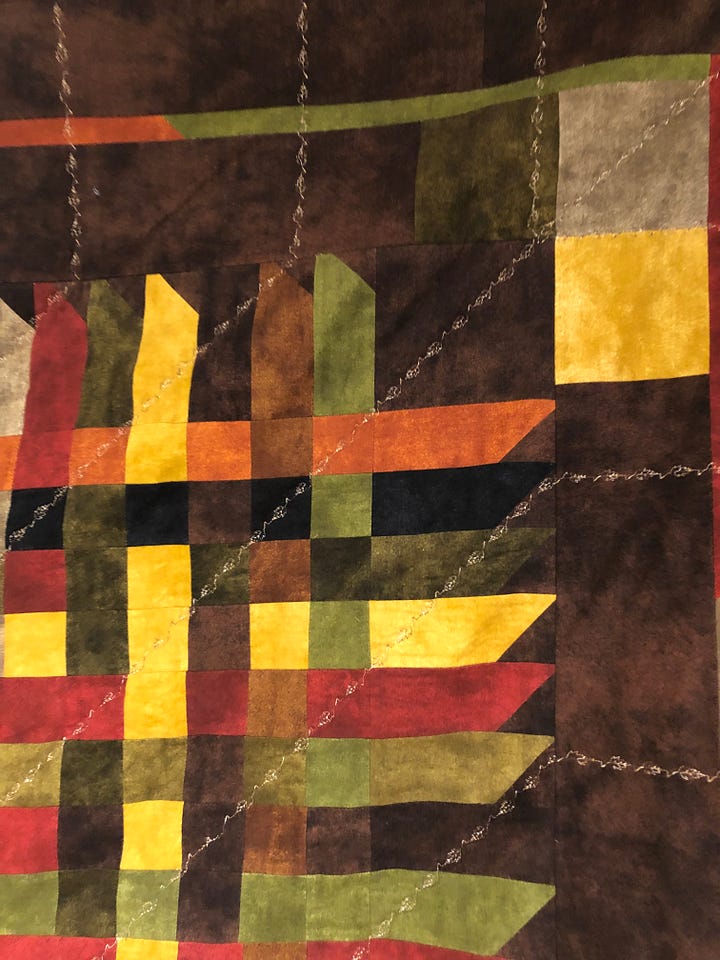
With both top and back of quilt done, I made a quilt sandwich - top, batting, back and stitched all three layers together using a decorative leaf pattern found on my sewing machine. Finally, I attached a dark brown binding which included a little machine stitched quilt label. And that’s it - one cozy quilt enthusiastically given and received!




So beautiful and detailed!!
Beautiful!